Stand tall and ease pain with these expert-approved stretches
Improving our posture with some light stretching can hold untold rewards – from reducing aches and pains to preventing injury, and strengthening muscles. Gently explore these targeted movements, holding them for 30 seconds each, and see how you feel – and always remember to warm up first to avoid injury!
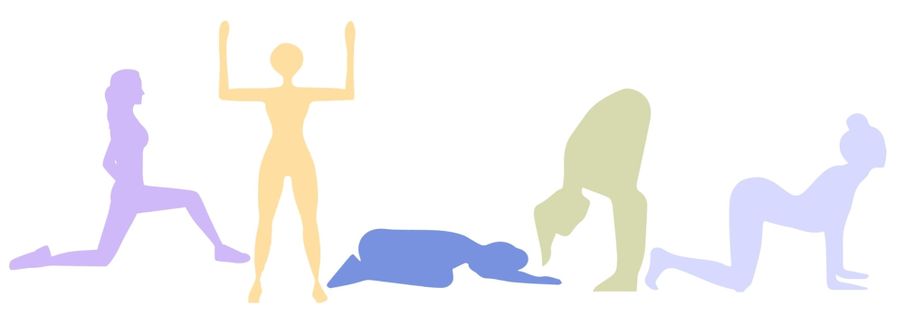
1. Hip flexor stretch
If you spend a lot of time sitting down, your hip flexors – the muscle group that runs down the front of your thighs – can become tight, leading to restricted movement and lower back pain. Kneel on your left leg and bend your right leg out in front of you, with that foot flat on the floor. Keeping your back straight, slowly push your hips forward. You should feel a stretch in the upper thigh of your left leg and hip. Repeat on both sides.
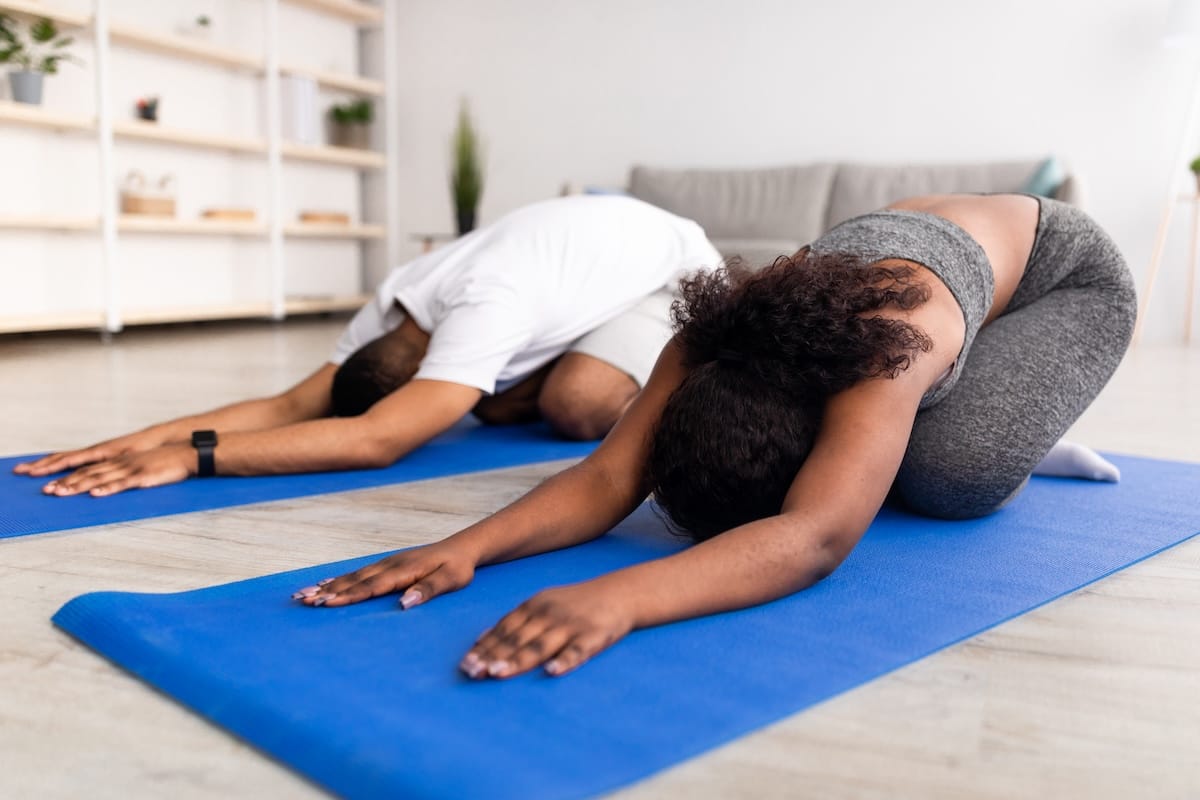
2. Child’s pose
Yoga therapist, somatic healer, and mindfulness coach Tess Jewell-Larsen says: “Child’s pose can be powerful because it releases the spine and hips, creating an immediate sense of relief.” First, kneel down and rest your bottom on the heels of your feet. Then, lean forward so your head touches the floor, or use a pillow or yoga block for support. Stretch your arms backwards towards your legs, or in front of your head if that’s easier.
3. Door frame chest stretch
Sedentary lifestyles can lead to rounded shoulders and a forward head posture. By opening up the chest and shoulders, this stretch relieves tension and encourages better posture. Start by placing both forearms on a door frame at shoulder height. Lean forward, keeping your back straight, until you feel a stretch across your chest and shoulders.
4. Standing forward fold
Stand with your hands at your hips, knees slightly bent, and fold your torso over your legs, hinging from the hips, not the lower back. Rest your hands on your legs or the floor. Tess stresses the importance of avoiding a rounded upper back and locked knees: “Keeping a slight or generous bend in the knees while still lifting the sit bones (the bony bits of the pelvis under the glutes) helps to lengthen the spine, enhances effectiveness, and reduces the risk of injuring the lower back and hamstrings.”

5. Cat cow stretch
Start on all fours with your hands under your shoulders and knees under your hips. Inhale deeply while curving your lower back and raising the chin, tilting your pelvis up. To do the reverse, exhale and tuck the belly in, arching your spine and bringing your head and pelvis downwards. “Take your time with the transition from cow to cat,” says Tess. “I like to cue starting the movement from the tailbone, and work to feel the spine flow from the tailbone up to the neck, and then down again.”
Comments