We hate to burst the luxurious bubble, but creating your own bath bombs is a lot more simple than it sounds. Ready for some fun crafting? It’s time to soak it in
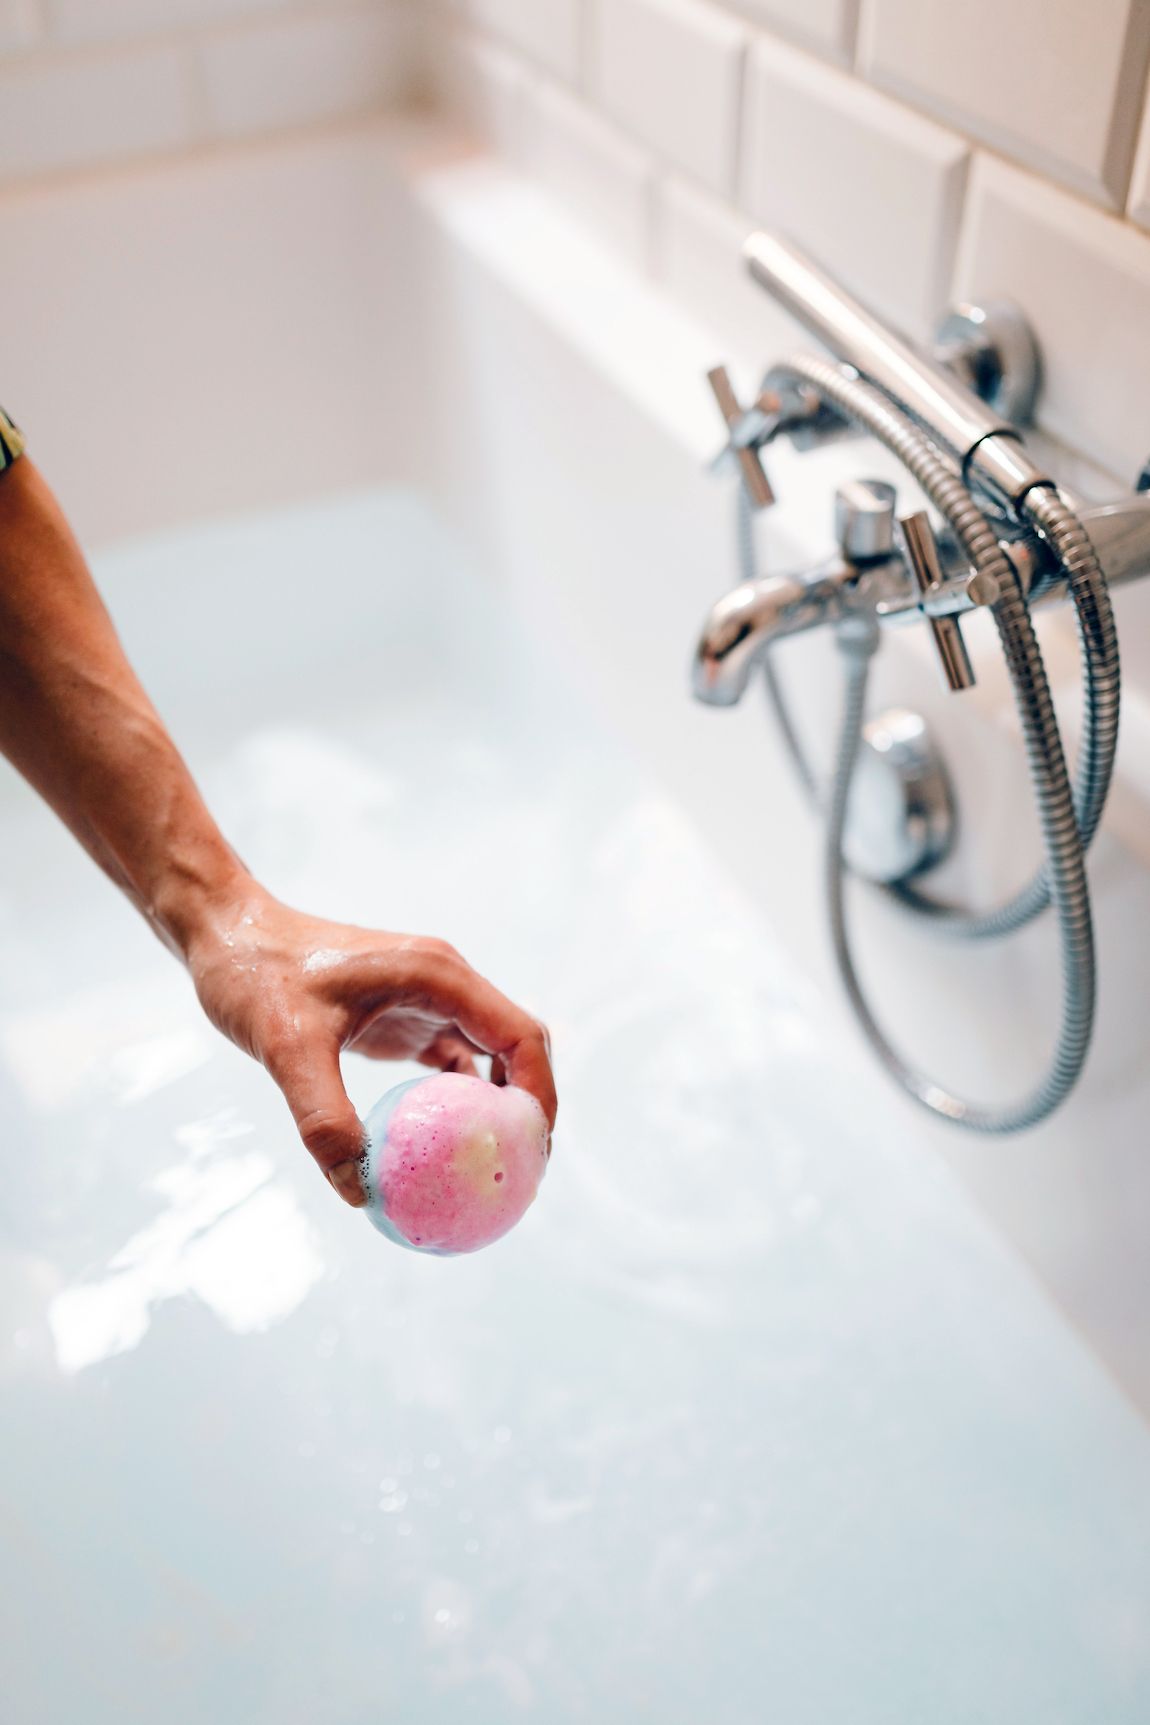
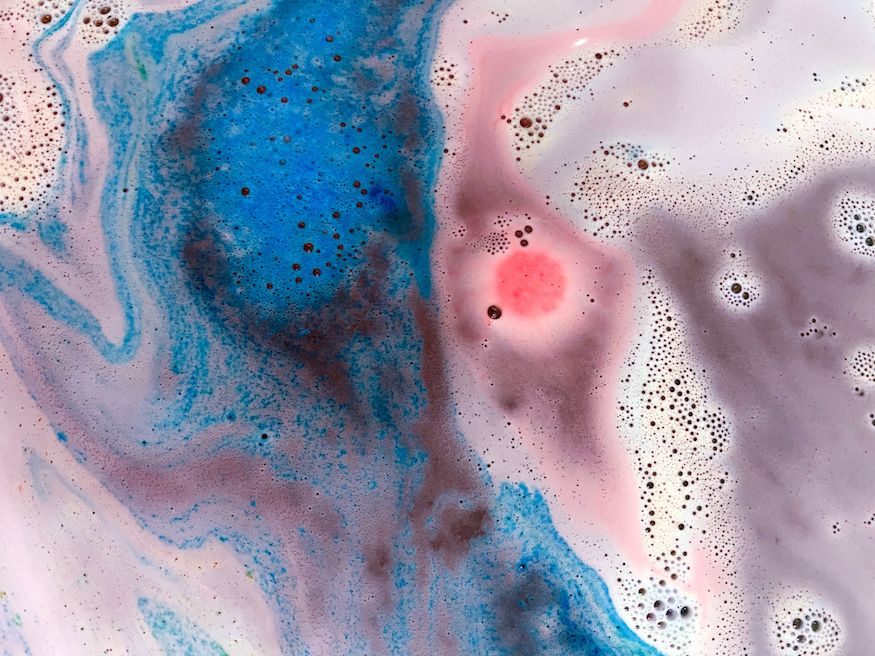
Picture this: the gentle lapping of water filling the tub, steam rising and dancing in the light of candles flickering. You take a bath bomb, and feel the powder crumble slightly in your fingers, before the fizzing erupts and bubbles are unleashed as it descends beneath the surface. The soothing aromas combine and create a heavenly scent, as you slip into the warmth of the water, and feel your muscles immediately relax.

It’s a divine daydream, but the art of bathing goes further than providing an opportunity for some tranquil self-care, as it’s been scientifically proven to support our wellbeing too. For example, a study from the University of Freiburg, in Germany, found that a 30-minute soak in a 40oC bath provided a mood boost for participants with depression. Researchers went even further to conclude that regular baths could be more effective at addressing depression than aerobic exercise.
Plus, for those who struggle with sleep, the warm water could help set your body temperature up for a good night’s rest, soothing muscles and helping to release some stress before you turn in as well.
One way to level up your bath game is by enchanting your various senses through adding a bath bomb! And making your own at home provides a mindful and fun crafting activity during the day, with the added reward of getting to enjoy the results with an indulgent soak at night. Tempted to give it a whirl?
Want to show someone you truly care? The thought and effort put into homemade gifts is unparalleled, so perhaps you could create a special bath bomb or bundle for someone you love.
You will need:
- 100g bicarbonate of soda
- 25g cornflour
- 50g citric acid
- 2 tbsp of oil (sunflower, olive, or coconut)
- 1/4 tsp essential oil
- Liquid food colouring
Optional:
- Eco-friendly cosmetic glitter
- Dried flowers (e.g. rose petals, lavender, or camomile)
Tools
- Mixing bowl
- Additional bowl
- Whisk
- Spray bottle (optional)
- Moulds (can buy online, or use muffin baking trays, or round ice cube moulds)
Method
Step 1. Mix the dry ingredients and citric acid together in a bowl, and whisk until combined.
Step 2. Add your oils and food colouring of choice into a separate bowl, and mix together. Liquid food colouring will work better, as gel could get clumpy!
Step 3. Gradually add your coloured oil mix into the main mixing bowl, whisking well. If you want an extra bit of pizzazz, include your cosmetic glitter here so it’s mixed through.
Step 4. Once all the ingredients are added, you’ll want to add a few drops of water to help turn your mixture into almost a dough so it holds its shape. You can just add water drops directly, or you may find a spray bottle helpful as you work it into a ball. Use your hands to create the desired round bath bomb shape, ensuring you don’t get it too wet in the process.
Step 5. If you want to add any petals, now is the time to include them. Pop them into the bottom of your mould (could be a makeshift one mentioned previously) and add your mixture on top, patting it down so it’s firm. With muffin cases, most will create half spheres that you can combine when set, so be sure to smooth the flat surface as much as possible so they’re easier to connect if that’s your plan.
If you don’t have a mould option, you could just leave your hand-shaped ones on a baking tray, lined with parchment paper, and press decorative elements on the top. Your shape might not be quite a perfect sphere, but its uniqueness will still be beautiful.
Step 6. Allow your bath bombs to dry out for up to 4 hours in a cool, dry space, before carefully removing them from the moulds. Then, enjoy a luxurious soak at your leisure!


Comments